PROJECT 3: Design and blockout
Before I start the blockout, I want to dive deep into the Sea of Thieves style (jesus, you can directly deduce how much caffeine I'm on by the amount of bad puns I make). To do that, I decided to revisit a series of lectures we got on the style last year. These are my notes from the especially useful one by Saran:
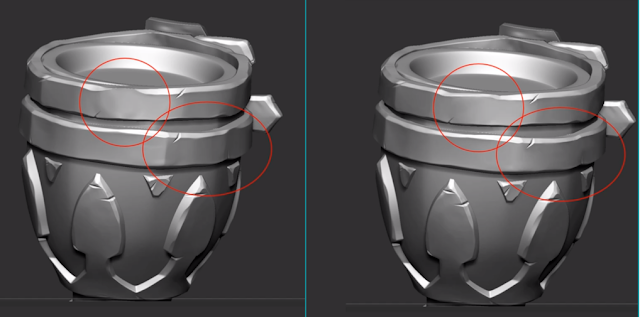
- Surface finish needs to be clean, not too noisy. Lumpiness is a no-no.
- Orbs brushes for cracks
- Careful with over-chiseling, if a chisel goes to a point, light can't catch the plane:
- Orbs brushes for cracks
- Careful with over-chiseling, if a chisel goes to a point, light can't catch the plane:
- Be careful with faceting: if it's a small object/area, too much faceting will add an unnecessary amount of detail, simplify.
- Be mindful of re-using assets (e.g. I will want to re-use my cage in the scene - there will be full cage with a stand and then only the top part of the cage sitting under the full cage, possibly with the door open to add diversity).
- Be mindful of re-using assets (e.g. I will want to re-use my cage in the scene - there will be full cage with a stand and then only the top part of the cage sitting under the full cage, possibly with the door open to add diversity).
- Texturing: Separate into different folders in Photoshop (metalness, roughness, emissive, diffuse, normal), name everything as it should be named (layer with: dirt, leather, cloth, lighting on top > consisting of world space baked lighting, standard occlusion on lower opacity, less than 40%, etc).
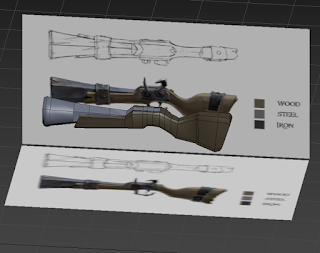
After re-watching the lecture, I moved onto modeling the bases for my models. For some (e.g. the armchair), I found useful concepts in The Art of Sea of Thieves book, for other less important assets I just winged a basic design which I will elaborate on in Zbrush. For modeling, I used basic tools, like instances, extrusion and symmetry.

After re-watching the lecture, I moved onto modeling the bases for my models. For some (e.g. the armchair), I found useful concepts in The Art of Sea of Thieves book, for other less important assets I just winged a basic design which I will elaborate on in Zbrush. For modeling, I used basic tools, like instances, extrusion and symmetry.

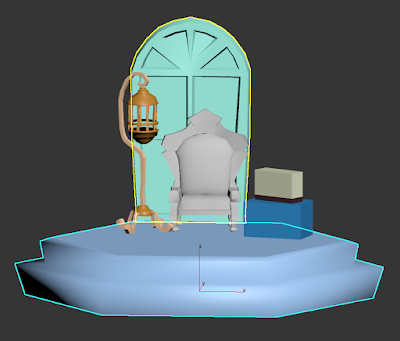
These are still just super basic blockouts. I will have to do another pass over them, adding details, cuts and medium wear, as well as enlarging some of their elements slightly as per Matt Wilkins' advice in his tutorial (better to oversize as the elements will be whittled down in Zbrush). I'm also noting to only start chamfering and turbo smoothing when my forms are at 80/90% accuracy at least.


Comments
Post a Comment