PROJECT 1: Choosing the workflow
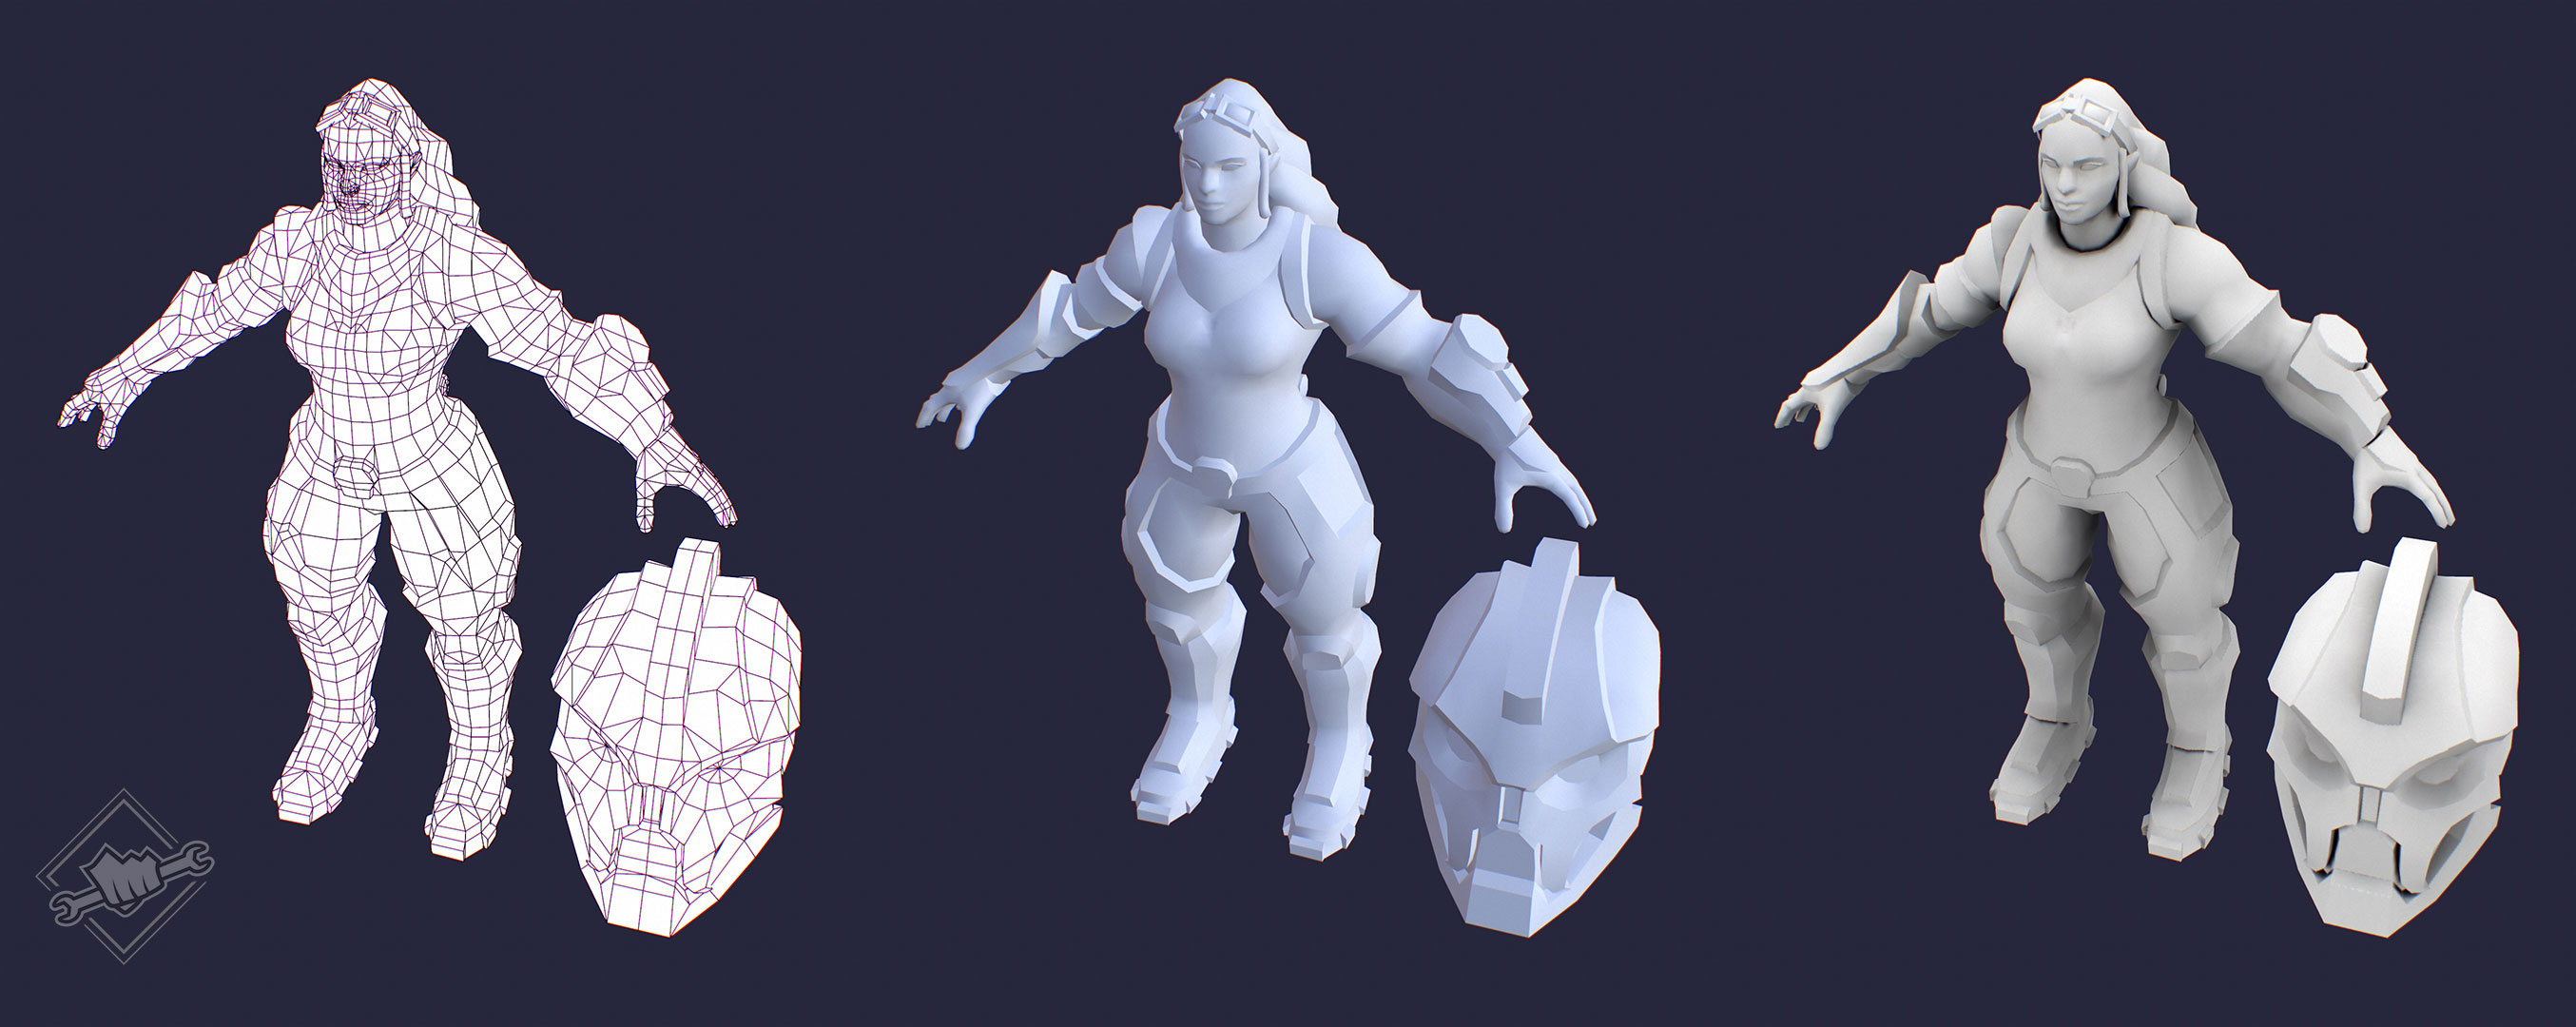
With my concept ready, I went on to modeling the base in 3ds Max. I already had a previous base mesh I made when doing a personal study of Riot topology over the summer, so this made things significantly easier. As I was modeling, I started thinking about next steps and about the whole workflow. The path to take was a little unclear as I've been focusing on PBR the whole last year and steps to take have started blending together - do I use Zbrush at all? Where do I bake, what do I bake? The questions kept piling up so I decided to do a small research to fully understand what the correct industry workflow is nowadays. I compiled a good number of resources (at the end of the page) and came to the conclusion that although individual steps vary with every artist, generally the handpainted non-PBR asset creation can be achieved through two main workflows:
WORKFLOW VAR. 1 (with Zbrush)
As seen here: https://sketchfab.com/blogs/community/art-spotlight-paladin-alyonushka1. Start with a base mesh previously made in 3ds Max and ZBrush.
2. Sculpt details in Zbrush (dynames, extract, etc), if model is hardsurface, build it in 3ds Max.
3. Unwrapping in HeadsUVLayout (utilize as much space as possible, textures will be shrunk in game)
4. Baking with Topogun and xNormal: Baking out Skylight map (Hardware AO version), AO (Hardware AO version uncheck skylight) from sculpt
5. Bring into 3dCoat and do a quick AO bake just from the in-game model in 3d Coat
6. Paint in 3d Coat and Photoshop (detailed breakdown on layer modes below) - utilising direct painting in 3D coat and projection painting in PS.
7. Present in Marmoset
 |
| (Workflow 1 by Yekaterina Bourykina, https://www.artstation.com/artwork/xYkW) |
WORKFLOW VAR. 2 (Direct painting)
As seen here: https://nexus.leagueoflegends.com/en-us/2018/01/battlecast-illaoi-modeling-and-texturing/This workflow saves time if you feel like you have a solid base model to paint on and feel more confident in texturing without the help of Zbrush detailing. League of Legends models do not require a normal map - if they did, the Zbrush workflow would be the way to go every time.
1. Cannibalizing and reusing old 3D low poly meshes if they have a good/similar topology to what you want the result to look like (alternatively pre-build a basemesh in ZBrush and retopo). Keep in mind: "Creating even a basic model like this one takes a lot of time and goes through many progressions, but since it’ll determine how she moves and looks in game, it’s extremely important to have a solid base to build the skin on."
2. Once the model is done, set up smoothing groups (Note: I need to find out more info about those specifically. The only additional info I found is that the smoothing group seams should correspond with the UV seams, and to try to separate surfaces where edge angles are close to 90 degrees.)
3. Unwrapping.
4. Ambient occlusion bake
5. Bring into 3dCoat, clean up base AO.
6. Painting details with AO: I have already used Ambient Occlusion painting in my previous unreleased digital painting project so I already have at least some gist of what to do. Basically block out forms with shadows - the closer one form is to intersecting with another, the darker the shadow.
7. Blocking out colours with Hard Light mode, detailing with Overlay, Color Dodge, final paintover.
8. Present in Marmoset
 |
| (Workflow 2 by Yekaterina Bourykina, https://www.artstation.com/artwork/3abgm) |
Because I already had my basemesh ready and I found really good reference in form of an online League of Legends 3D Model viewer, I am feeling confident enough to try to go for the second workflow and only use Zbrush if everything else fails. I hope I won't regret it! 😁
Some additional tips by Katia Bourykina that will definitely be of help:
- "Always reinforce the form when texturing, use Overlay and a Color Dodge pass at the very top of layer stack to make sure the character still pops."
- "After finishing up all the painting, add gradient so the character's bottom half is a little darker."
- If deciding on doing handpainted (as opposed to PBR), the ZBrush sculpt (if you decide to go that route) does not have to be polished as all the mistakes can be fixed in the diffuse only texture.
RESOURCES TO LOOK BACK AT:
https://80.lv/articles/building-better-characters/
https://sketchfab.com/blogs/community/art-spotlight-paladin-alyonushka
https://nexus.leagueoflegends.com/en-us/2018/01/battlecast-illaoi-modeling-and-texturing/
https://80.lv/articles/stylizing-3d-character-content-model-texture-details/
https://80.lv/articles/liu-hao-low-poly-character-creation/
https://www.youtube.com/user/corderocraft


Comments
Post a Comment